Help
 Electronic technician, then microelectronics engineer, I turned to cooking in 2009, knowing absolutely nothing about it. I learned on the job, thanks to the internet, several cookbooks (larousse de la cuisine, Julia Child's Mastering the art of French cooking, La cuisine spontanée de F. Girardet, to name only the most famous) and memories of my mother cooking. YouTube videos were a big help, especially those of famous chefs, because the others are often weird. Finally, many TV cooking shows also helped me.
If I started cooking out of necessity, and with the intention of reviving some of my mother's recipes, I now cook out of passion for food taste and texture and the study of traditional French, and Swiss cooking.
The essential element to cook well is to have a reference (knowing what is good, and not what seems good). I acquired this reference from my mother who was a certified cook, then during visits to starred restaurants, such as Bocuse, Troisgros, Girardet, again to name only the most famous.
From this point on, there are only two other "tools" needed: taste at all the stages of a recipe and constantly question yourself. This is why all the recipes that I present have a date, because they evolve over time according to the development of my capacities and the comments of my guests.
Finally, without going into detail, the tools (utensils, machines, accessories) used in the kitchen are important, but the most important are the knives. I was made aware of this by Anthony Bourdain, from his book "Kitchen Confidential" in which he mentions his "Sabatier" knife. After a lot of research, I discovered that there are several Sabatier knife factories, but the most original, and still made in France semi-artisanally, is the Sabatier Thiers-Issard. 
 Abréviations
EVOO     Extra Virgin Olive Oil
pp       per person
T        Turn of the (pepper) mil
P        Pepper
S        Salt
w        with
+        a little more
-        a little less
schlook  a shot (of liqueur)
opt      optional
CT       Convection oven (fan assisted oven)
normal   conventional oven
Cooking pasta
Basically:
Use the rule of 1-10-100: for 100 g of pasta (per person) use 1 l of cooking water and 10 g of salt. But in practice, one can use a little less water if needed (0,6 l per 100 g of pasta) or a little less salt (no less than 7 g per liter).
Variations:
- A serving as a main course varies from 80 to 100 g. As an accompaniment, 60 to 65 g.
- 10 g of salt per 1 l of water, but you can go down to 6 or 7 g if you watch your salt or if the rest (for example sauce or cheese) is rather salty. It is not an option not to salt the pasta water and add salt afterwards.
- 1 l of water, the pasta must have room to "flutter" during cooking. However, in some recipes, the cooking water is used to help thicken the sauce since it contains starch. In this case, reduce the amount of water somewhat to concentrate the starch.
Al-dente, cottura: Only put the pasta in boiling water. As soon as the pasta is in the water, it will stop boiling. Cook the pasta for the time indicated on the package as soon as the water starts to boil again. The pasta is al-dente or cooked (cottura) after the time indicated on the package (assuming the water is boiling throughout). Depending on your taste, you can cook it a few more minutes, but taste all along, because overcooked pasta is not good.
Salt: normally coarse salt is used, easier to dose, but it is of little importance, 10 g of coarse salt are equivalent to 10 g of fine salt. Putting salt in cold water or in boiling water doesn't make any difference, however it is preferred to add it to cold water as adding salt to boiling water can cause sprays (of boiling water).
Oil: Adding oil to pasta water is pointless.
Saucepan: Since you need 1 l of water per 100 g of pasta, you necessarily need a saucepan large enough for cooking the pasta. It is also necessary that the latter has a thick enough bottom for a good distribution of heat (but this is not only the case for cooking pasta).
Stir: Stir the pasta as soon as it is in the water, and regularly after that. This is the only way they won't stick together or at the bottom of the pan.
Long pasta: do not break them, otherwise use elbow pasta!
Immersion: put the pasta all at once in water. For long pasta, push them into the water as soon as the submerged part softens.
Draining: Drain the pasta well once cooked, normally you don't want lots of water in the pasta.
Feed the pasta: So that the pasta, once cooked, does not stick together, or turn into a compact clump, feed the pasta according to its use:
- a few knobs of butter
- a dash of EVOO
- A little of the previously reserved pasta cooking water
- A fairly liquid sauce (probably because pasta water was added).
Sauce: Normally, one puts the pasta in a warm sauce (for example tomato sauce) and a cold sauce on the pasta (for exemple pesto).
Stocks and fonds
Stocks and broths are the soul and base of many dishes and sauces, but the issue of stocks and broths is not the same for us home cooks as it is for professional cooks, although they are essential to any good cooking.
Fonds (stocks) are either clear or thick. A thick stock is normally a light stock thickened with corn starch (30 g/l) or flour (for us home cooks - see below how to thicken a sauce. Difficult for amateur cooks to make a fond, which requires long hours of cooking offal and bones (roasted). Broths are generally clear, for example chicken or beef broth and require less labor (but are less rich).
Chicken broth is easy to make, using chicken carcass and other chicken giblets. This is of course the preferred solution if there is one. Never let a chicken carcass go to waste!
You can use the cooking broth from a pot au feu for beef broth.
Broths (chicken, beef) in bricks can be found in North America, but generally they need to be reduced because they have little taste (expensive water!).
Normally we fall back on commercial products: cubes, powders, concentrates, etc.
The choice is vast, but good products are scarce. Many of these fonds are just a mixture of salt and chemicals, with little (or even none!) of the desired element (beef, chicken).
Ideally you should use a broth without salt, so as to add the amount you want. In addition, some recipes (lentils for example) require an unsalted liquid.
For my part, I avoid cubes, which are among the worst products, and for some obscure reason, even worse in North America than in Europe (even though same name, same brand!).
Veal stock: I use a liquid concentrate stock, "Coop - Veal stock concentrate - Fine food" and always bring some with me when I travel to North America. I use this base for a lot of sauces. It contains only natural elements, not too much salt and is full of flavor.
Chicken, vegetable and beef broth: Again here, bought in Switzerland and which I bring with me to North America, "Knorr chicken / vegetable / beef broth powder". Contains very little salt and no chemicals.
Another find: "Töpfli Broth - Marmite de bouillon - Chicken, Vegetables, Beef", again from Knorr. Small doses of good quality broth gel (without additives), but a little saltier.
Other products: "Ariaké infusion sachets". Excellent, contains only natural elements and almost no salt, but they are expensive and difficult to find.
Flavor enhancer - Monosodium Glutamate - MSG): MSG is found in many commercial preparations, especially in cube broths. There is no denying that a tasty dish is better than a bland dish. To do this, rather than adding a flavor enhancer - MSG, I propose to enhance the taste!!! Use good tasty ingredients (good tomatoes, good cheese ...), if possible fresh (especially not canned and limit the frozen), spices (not having exceeded their pre-emption date by months or even years) and herbs (if possible fresh). There is also a natural flavor enhancer, to be used without restraint - well without exaggerating - it is pepper, freshly ground; yes, pepper is a natural flavor enhancer.
Other fonds: some recipes call for specific fonds, for example game fonds. Of course, you can buy a suitable stock, but there is a good chance that your piece of game once prepared will leave some waste (fat, membranes, etc.). These pieces, once roasted can be deglazed, for example with a little cognac or red wine, then added (through a colander to remove the solids) to the sauce based on veal or beef stock, for a little extra touch. Otherwise simply use a veal or beef stock depending on the type of game.
Fumet: Simply a stock or a broth, but the term is reserved for fish (and shellfish).
Thickenning a sauce
For the home cook, there are several ways to thicken a sauce. Either during its preparation (use of a roux or sprinkle with flour), or at the end when you want to thicken a sauce that is too liquid (corn starch, beurre manié). In some cases, simply reducing the sauce may be sufficient (while enhancing its taste).
Roux: as much flour as butter (or sometimes other fatty substance). We melt the butter and then add the flour. Mix well with a whisk and cook for 2 or 3 minutes on moderate heat. Without coloring, we achieve a white roux, with a slightly longer cooking time and a slight coloring, we achieve a blond roux. With a more pronounced coloring, we achieve a hazelnut or brown roux. The white roux will be the base of a béchamel, for example, while the blond roux, the base of a light sauce, and the brown roux the base of a more full-bodied sauce. Once the roux is ready, add the cold liquid (I add it all at once) and whisk well so as not to have lumps. The sauce gets its consistency as soon as the mix begins to simmer. The roux is normally easy to dose since the recipes specify the quantity of flour and butter required. The table below gives some typical values for 1 l of liquid.
| Light sauce | 40 g flour, 40 g butter |
| Normal sauce (Béchamel) | 60 to 70 g flour, 60 g to 70 g butter |
Sprinkle: sprinkle with flour a food cooked or sweated in a fatty substance (butter, oil, etc.). As with the roux, it is important to cook the flour a few minutes before adding the liquid that will make the sauce. The sauce thickens as soon as the mix begins to simmer. Dosing the flour is more difficult and requires a little experience. A good rule of thumb is to use 30 g - 2 good tablespoons - flour per liter of liquid. One trick is to sprinkle the flour by putting it in a small sieve to avoid lumps.
Corn starch: always dilute the corn starch in a little cold liquid, either water, broth, or a little of the sauce to be thickened, taken out of the pan, which will cool quickly once in a glass. Here again the quantity to use relies to a good extent on experience, however, as with the beurre manié, add the mixture little by little, making sure to reheat the sauce to a simmer each time to verify the amount of thickening. A good rule of thumb is to use 20 g - 2 level tablespoons - of corn starch per liter of liquid.
Beurre manié: equal amount of butter (at room temperature) and flour, kneaded together either by hand or with a fork. Add in small dabs, mixing vigorously with a whisk, once the sauce is ready, until the sauce gets to a coating thickness. Add the beurre manié in a just simmering sauce, then whisk in the beurre manié and leave time for the sauce to thicken, between each piece of butter lest we add too much. A starting rule is to use 40 to 50 g of butter and as much flour per liter of liquid. A little tip for my Jewish friends, you can easily replace the flour with matzoh meal. Some cooks recommend to always have beurre manié on hand ready in the fridge, as it is so useful. I prepare it as I go depending on needs.
Cream: Full cream (35%MF) can be reduced by boiling and will thicken a sauce. Cooking cream contains a thickening agent that will also help thicken a sauce while cooking.
Creams
There are different (too many) types of cream on the market, and it is important to use the right one for each purpose.
In fact, full cream (35% MF) is well suited for almost all uses, but the reverse is not true, a half cream, for example, is likely to separate when cooked.
Light cream: (12% to 18% MF) for example coffee cream and some half and half creams. These creams are heat resistant, but not cooking resistant. They can therefore be used for sauces or soups where they are not cooked. They cannot be whipped.
Light cream or half cream: (20% to 30% MF) can be used as for the light cream (sauces, soups without cooking it), but it can be whipped although creams with a little more MF are more suitable.
Whipping cream: (30 to 35% MF) contains enough MF to make a good whipped cream.
Full cream: (35% MF) the almost universal cream. Can be used for all the above purposes, but also for cooking, without separating.
Double cream: (45% MF or more) too thick to be whipped, it can be used for all the other purposes above.
Clotted cream: (UK, 55% MF or more) British speciality, very thick cream which is eaten as is, with scones.
Cooking creams: there are 2 kinds, light in MF or not. In all cases, a gelling agent is added to the cream so that not only it does not separate during cooking, but also that it thickens during cooking, like a full cream.
Crème fraîche: french for "fresh cream". It is similar to sour cream, but richier and not as "sour". It has 30% or more MF, can be cooked, does not liquify and is ideal to thicken sauces and for quiches.
Conclusion: when cooking, use full cream or cooking cream to avoid unpleasant surprises. On the other hand, adding flour or corn starch to a cream low in MF should help stabilize it and allow it to be cooked.
Note: MF = Milk Fat
Leavening agents
There are two kinds, baking soda and baking powder.
| Name | Baking soda | Baking powder |
| Composition | Pure sodium bicarbonate. | base (sodium bicarbonate)
+ acid (tartaric acid or other)
+ starch (corn or wheat) |
| Dosage | Must be precise, typically 3 g per 500 g of flour, otherwise may alter the taste. | Not critical, typically ~7 to 11g per 500g of flour (according to the manufacturer), may be less depending on the recipe, neutral taste. |
| Use | Combine the dry ingredients of the recipe first, then the liquid ingredients last, so that the bicarbonate is activated only when needed. |
| Action | Acts quickly, bake immediately. | Exists in 2 categories: single action, similar to baking soda, or double action (the most common) with a second reaction at temperature. |
| Special Feature | Requires an aqueous and acidic medium (honey, molasses, lemon, yogurt, vinegar). | Does not require a special medium (can be used in the absence of an acid). |
| Good to know | Effect can be enhanced by adding a little lemon juice or vinegar. | Observe the expiration date. |
| Replacement | Can be replaced with 4 times the dose of baking powder. | Not directly replaceable. |
Knives and cutting boards
Knives are made to cut; therefore they must cut and at least for that purpose, they must be sharpened. To sharpen them day by day, you need a honing steel. The knife should be run over the steel a few times before each use. However, when the knife becomes dull, it should be sharpened or you should sharpen it yourself (see below, "Sharpening knives").
Now that we have knives that cut, let's talk about cutting boards. They can be made of wood, plastic or other materials, such as glass. There are 2 aspects to consider, the ease of cleaning and the wear of the knives. Glass is easy to clean, but an absolute horror for the knife edge, so it must be avoided. Plastic and wood go hand in hand for ease of cleaning, especially when the plastic starts to wear out, but wood, in my opinion, wears out less quickly and looks better. It is also easier to clean, even after much use. My choice is therefore a wooden board. There are 3 choices: the simple wooden boards, not recommended because they have the same wear behavior as plastic. Secondly, the boards made of wood squares glued so that the fibers are perpendicular to the surface, these are the best and often a little expensive (see picture below). Finally, there are the bamboo boards. Here the wood fibers are parallel to the surface of the board. I have read that this is not ideal for knives, however this is what I have been using for several years and my knives do not seem to suffer.
What knives are needed? That depends on the type and level of cooking you do. The number one knife, essential for everyone is the "chef's knife". It is a large blade knife, between 15 and 25 cm long, and I recommend at least a 20 cm, but 25 cm is preferable. The second, almost indispensable, is the paring knife. Small knife with a blade of ~10 cm. Then, depending on the needs, a slicing knife can be useful. It is a knife with a long and sharp blade useful for slicing roasts, ham or bacon. In the fourth position, is the deboning knife with a flexible blade of 13 to 15 cm length. This flexible blade allows, among other things, to remove membranes and fat from certain pieces of meat.
Then comes a large quantity of knives more or less specialized, with first the bread knife, then others that are more intended for professionals or that originate from free running marketing.
Finally a quick note on knife steel. It is roughly divided into two categories, stainless steel and carbon steel. The advantages of stainless steel are clear, always shiny and easy to clean. However, it is not as hard as carbon steel and must be sharpened more often to cut properly. Carbon steel keeps its edge longer as it is harder. However, it quickly takes on a brownish color, less attractive than stainless steel, and it requires special care: immediate drying with a cloth after washing, and greasing (olive oil for example) from time to time - especially when they are new. For my part I use mainly carbon steel knives.
Knife sharpening: there are roughly 5 ways to sharpen knives.
1. Professional sharpening services that remove 1 mm (or more) of material with each sharpening and destroy a knife in 2 (or even 1) sharpening. Avoid this unless you replace your knives every year.
2. Amateur (let's say semi-professional) sharpeners who like their knives in good condition and who do an excellent job of sharpening. These are rare and difficult to locate.
3. Knife aficionados who pamper knives with near perfection, using complex devices to maintain the sharpening angle, etc. I've never tried it, but it seems overkill (and expensive).
4. Small commercial sharpeners, some with a motor that turns 2 small grinding wheels, and others where it is enough to slide the knife a few times against slightly abrasive blades. These devices give acceptable and fast results.
5. The whetstone, the method I use. It takes a little practice and quite a bit of time (it's a slow process), but an absolute minimum of metal is removed during the sharpening process, which extends the life of knives that can be expensive (and rare - mine are). In addition, depending on the fineness of the stone, one can "adjust" the degree of sharpening of the knife.
Some tips in no particular order:
1. We often read that a knife that cuts badly is more dangerous than a knife that cuts well, it is rather true, but as anyway, it is inevitable to cut yourself while cooking, we might as well not exaggerate the sharpening.
2. One cries much less (if at all) when cutting onions with a sharp knife than with a knife that "crushes" instead of cutting.
3. Once parsley or other herb has been finely chopped on the board, use the back of the knife rather than the edge to remove it.
4. To avoid cutting yourself, there are two rules: treat the knives with respect and know how to use them. This last point assumes that one spend time acquiring good cutting and chopping techniques, and on this point many videos are available.
Everything and more one needs to know about knives: The Edge of Knife
Another interesting video on knives: Knifemaker Explains The Difference Between Chef's Knives
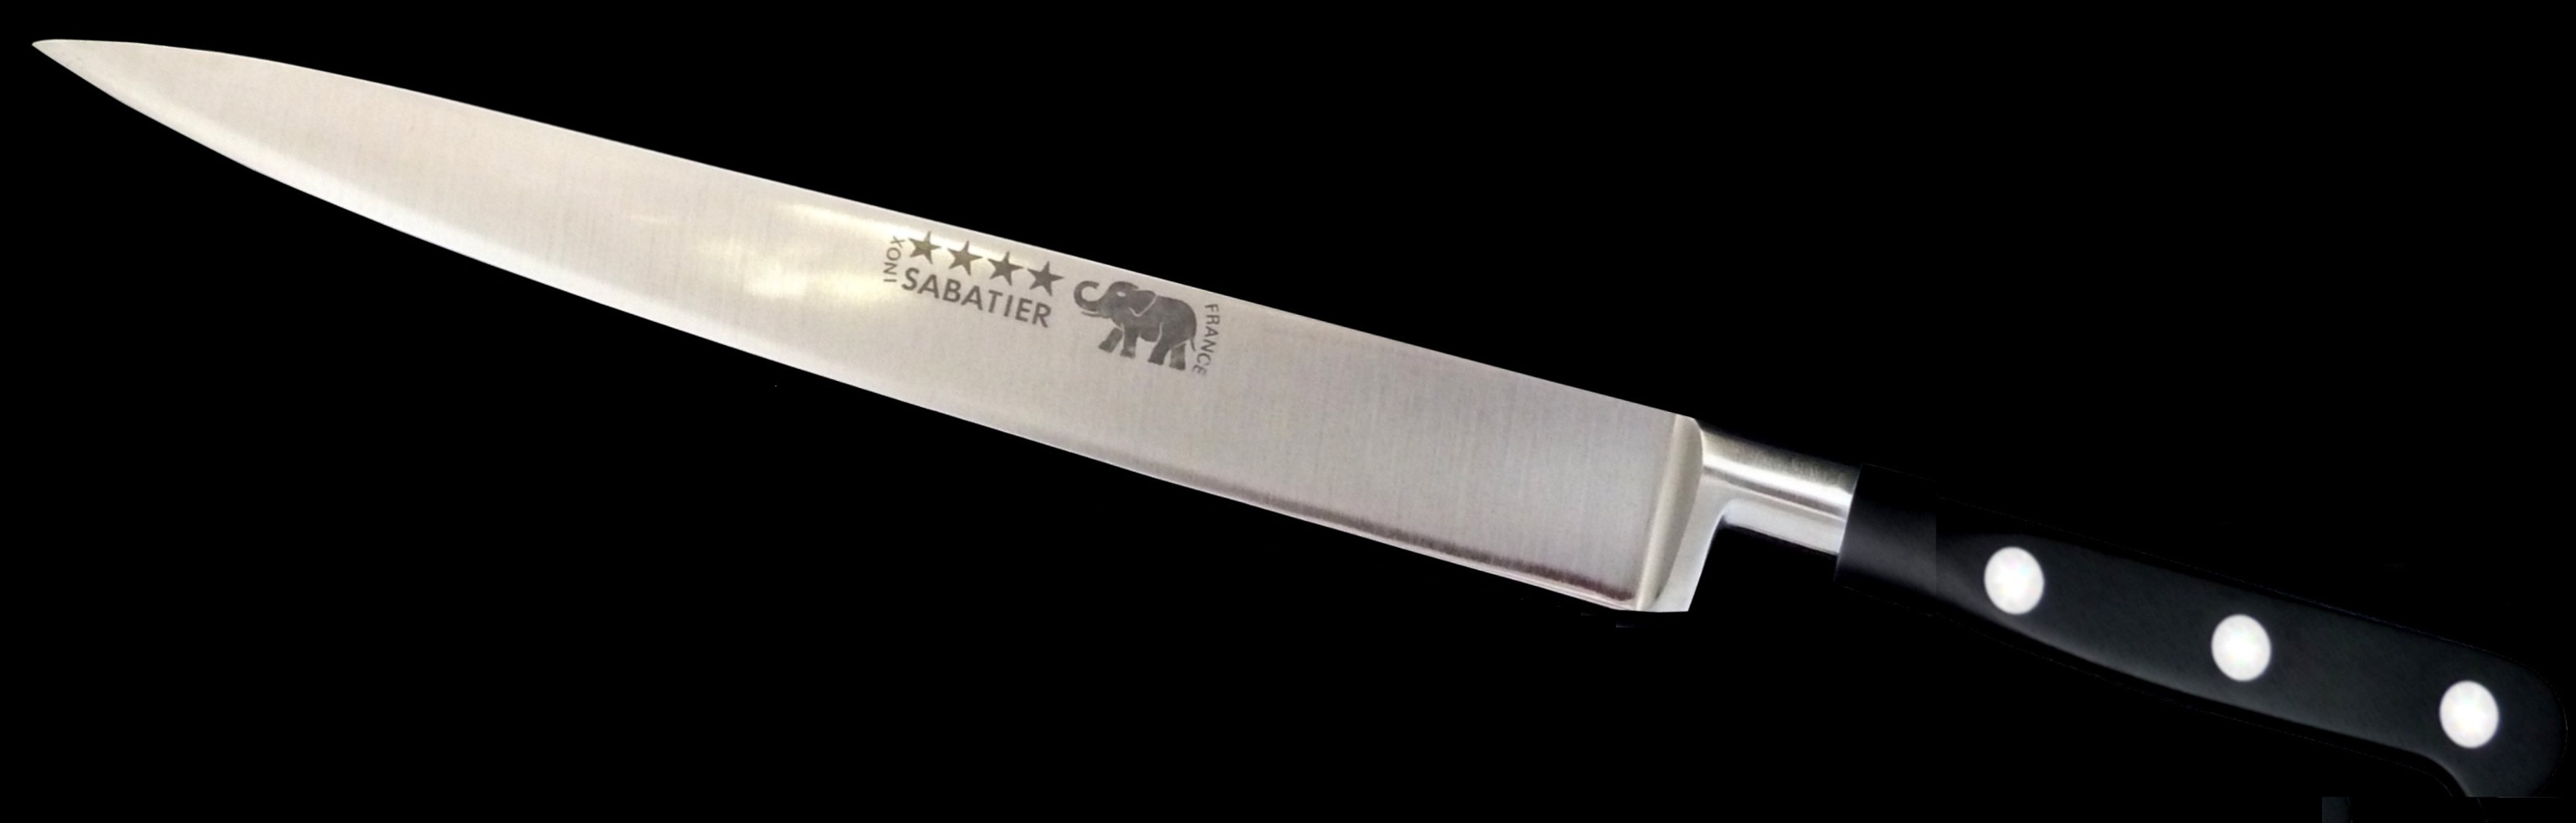
Slicing knife 30 cm
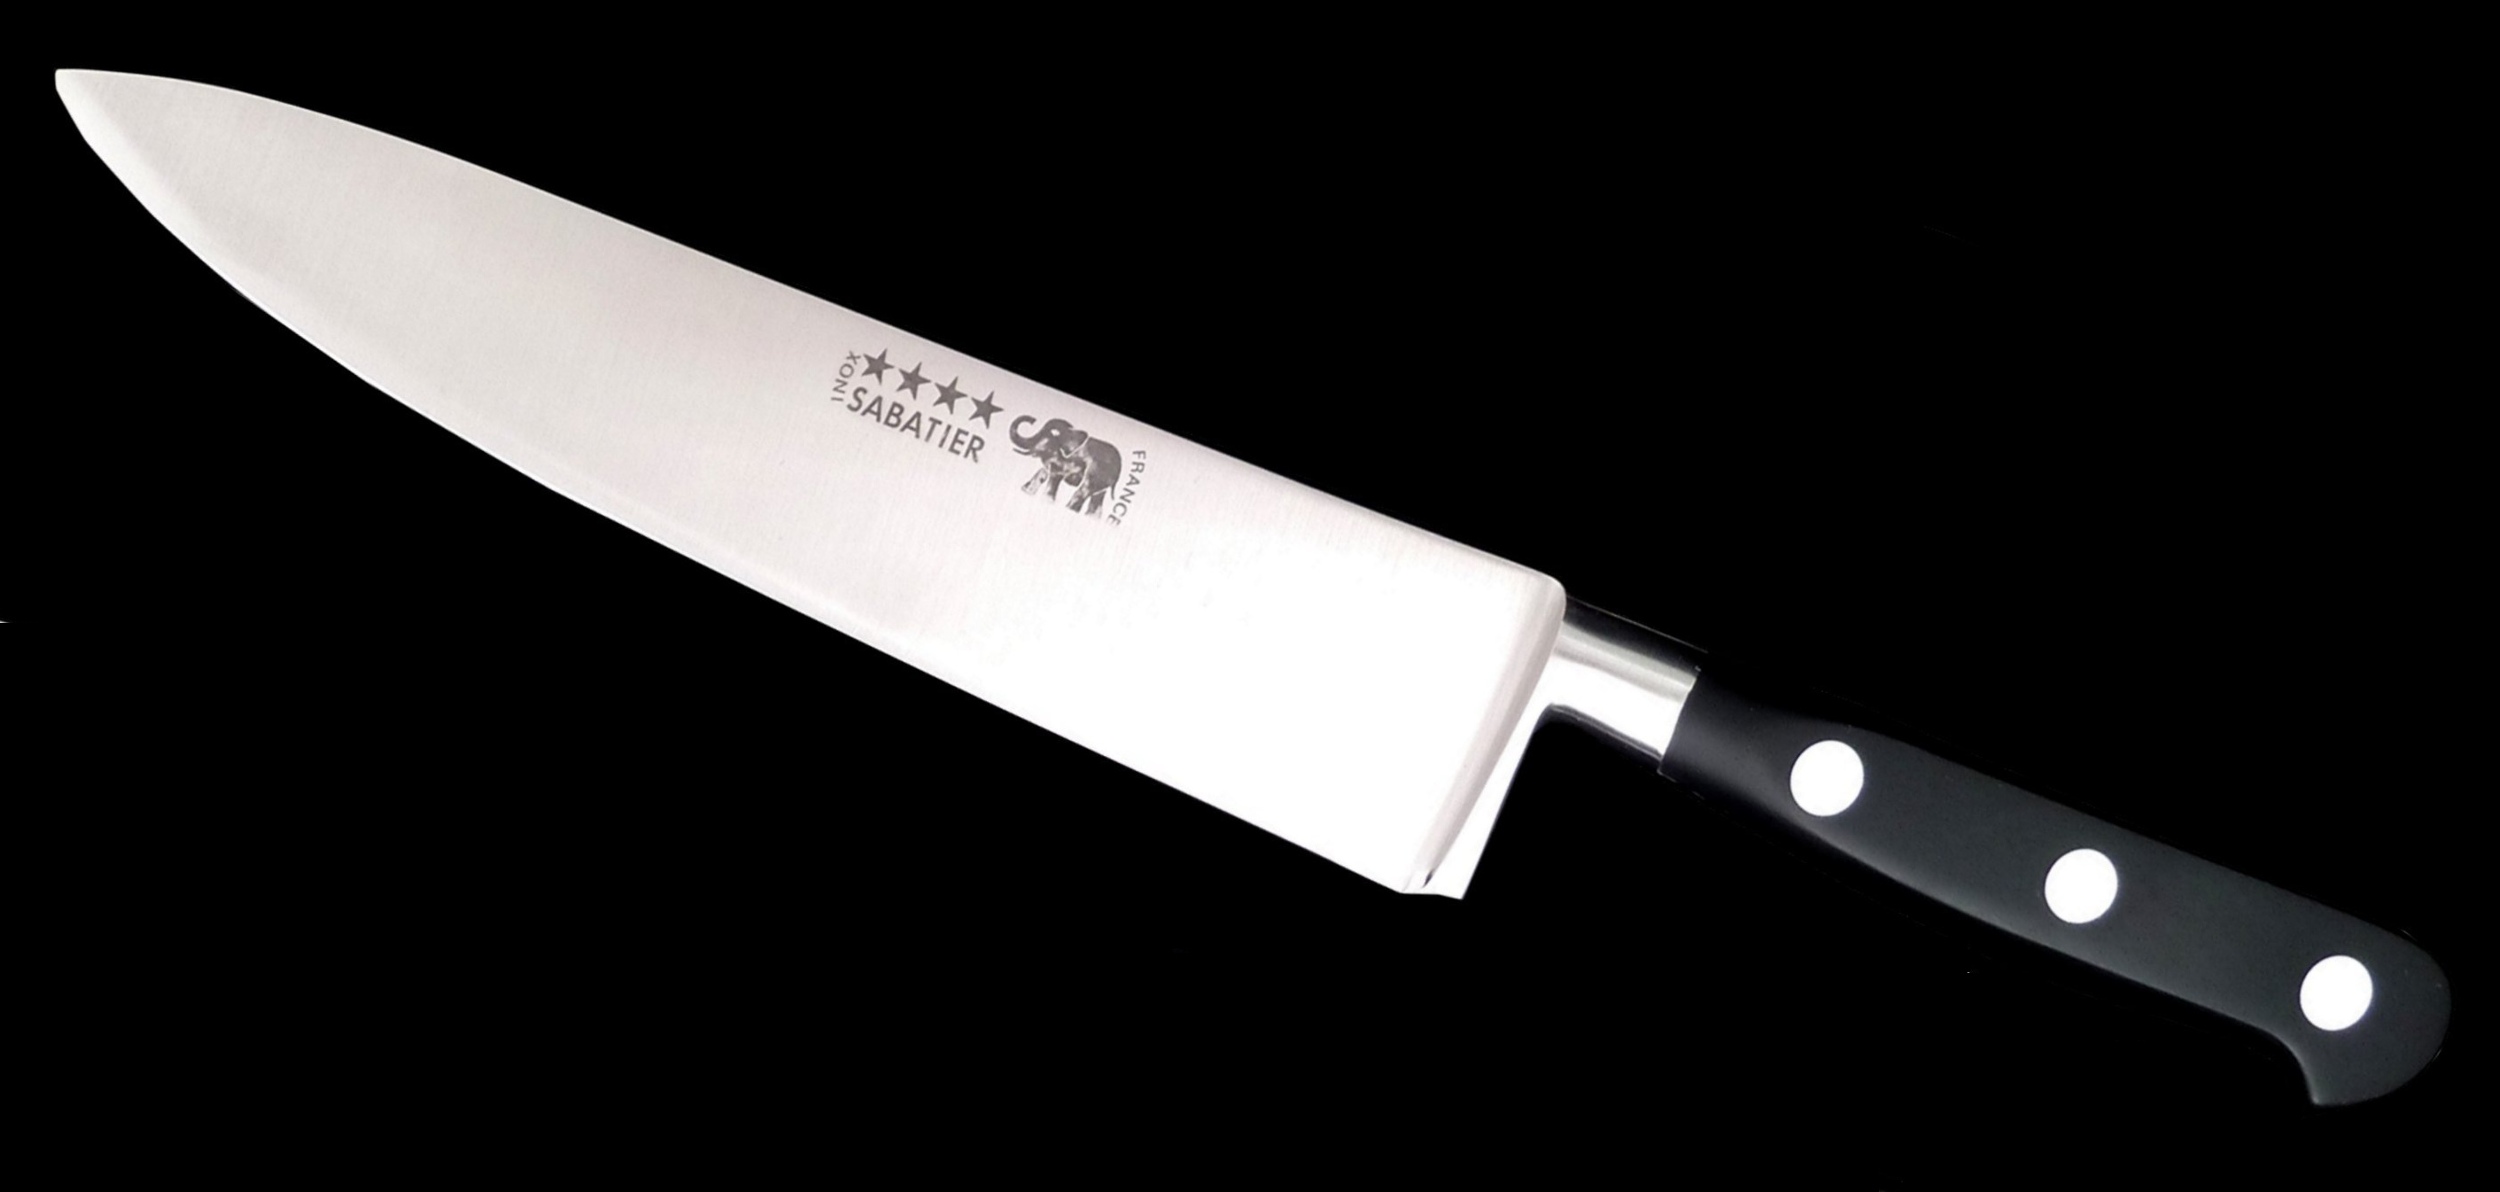
Chef's knife 25 cm
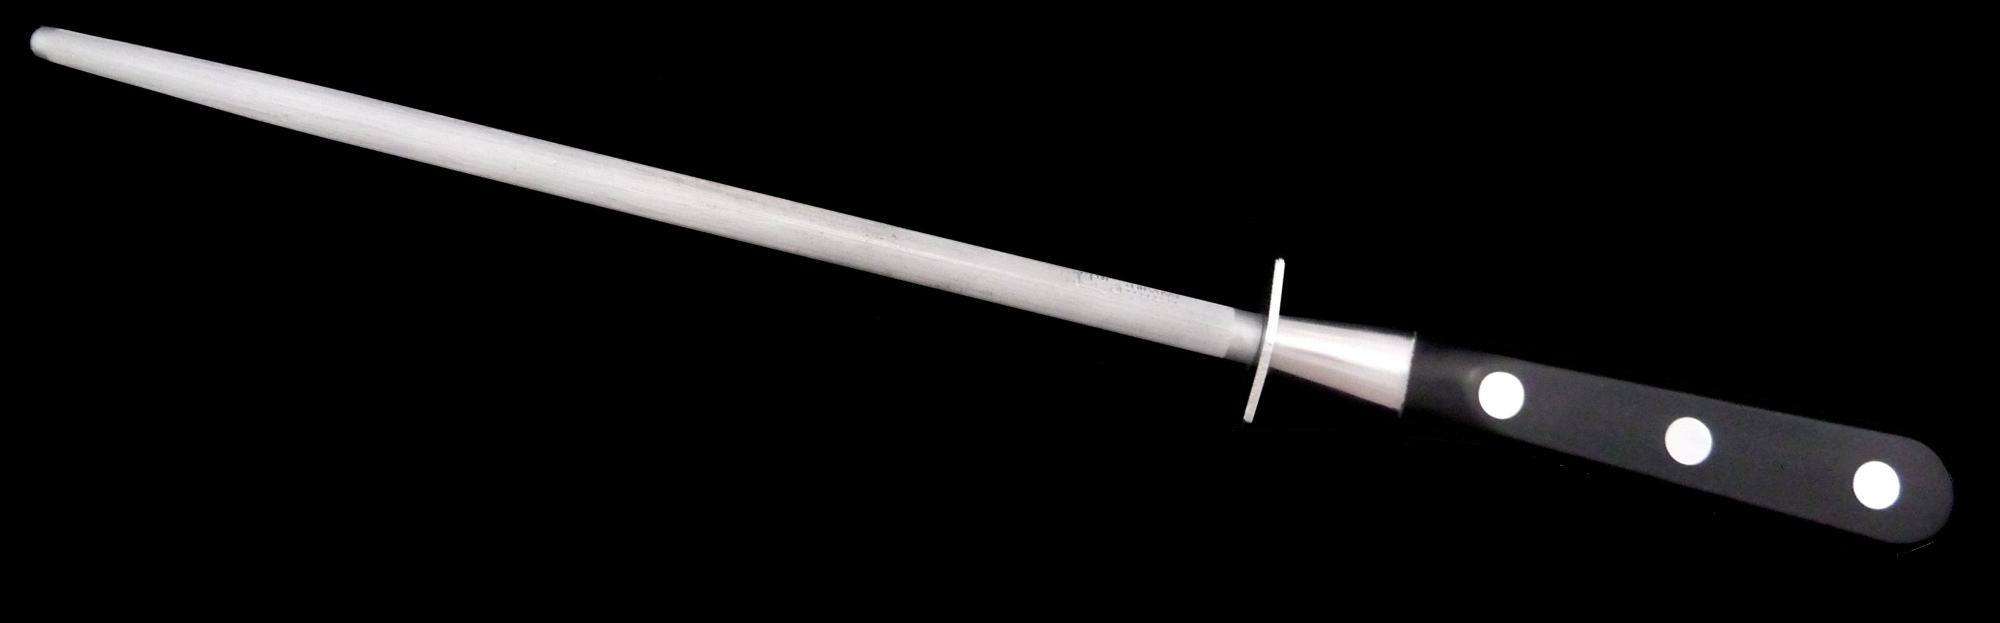
Steel 25 cm
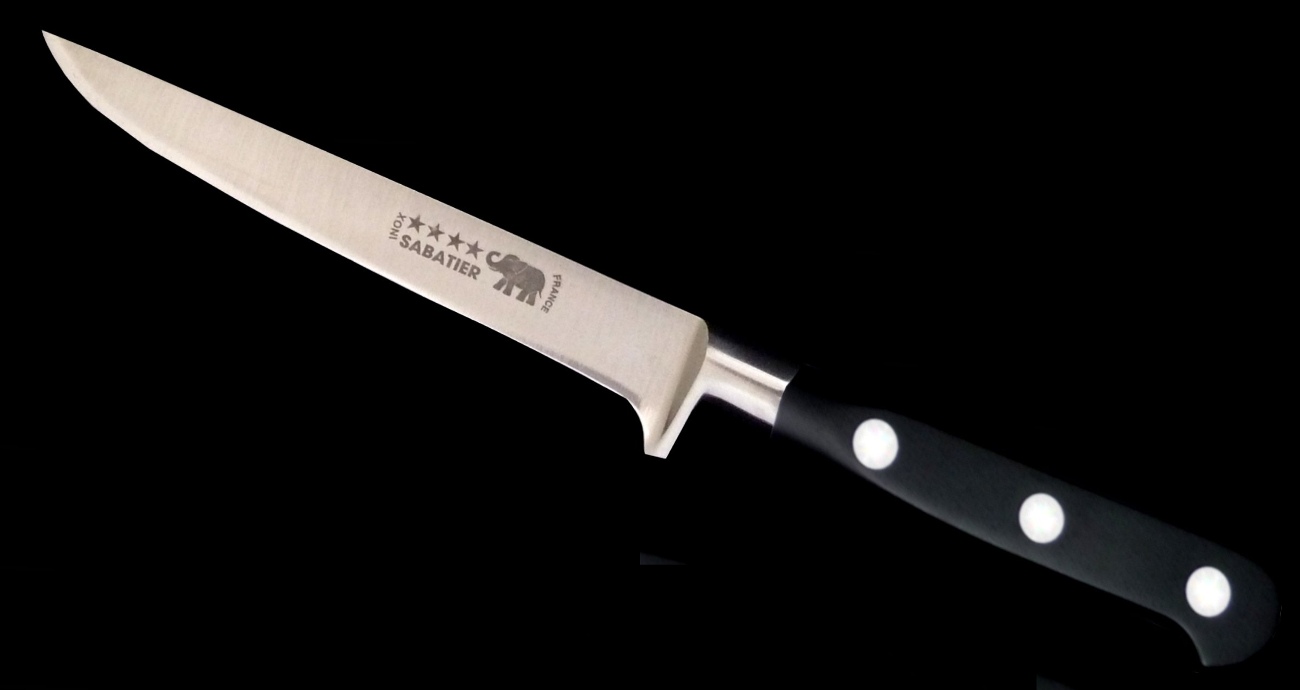
Deboning knife 13 cm
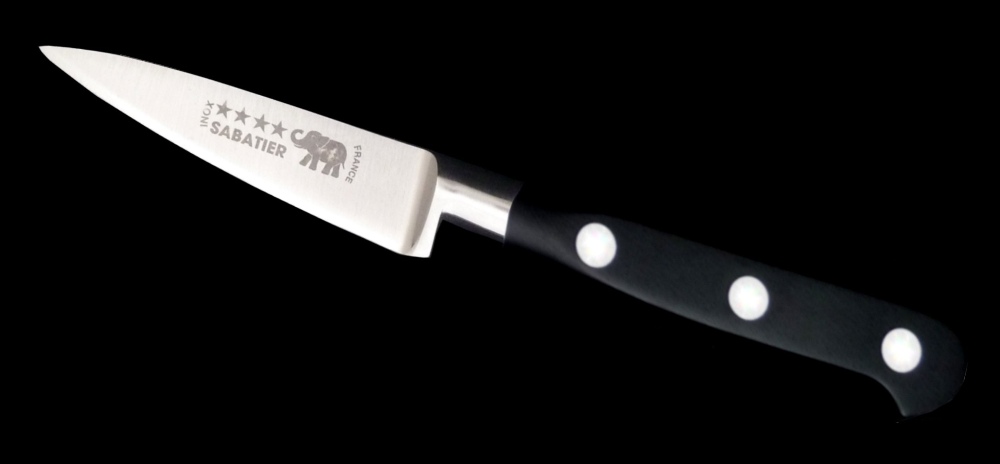
Paring knife 10 cm
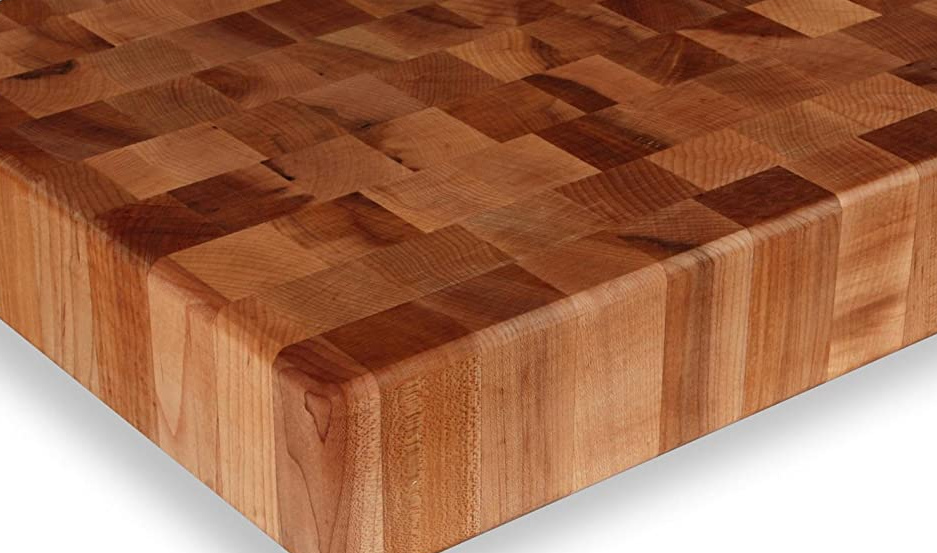
Cutting board - detail